Trezor.io/Start — The Ultimate Beginner’s Guide to Setting Up and Securing Your Trezor Wallet
Dive deep into Trezor.io/start — your official gateway to crypto security. Whether you’re storing Bitcoin, Ethereum, or any other digital assets, this comprehensive guide will walk you through every detail — from unboxing to mastering your Trezor wallet.
What Is Trezor.io/Start?
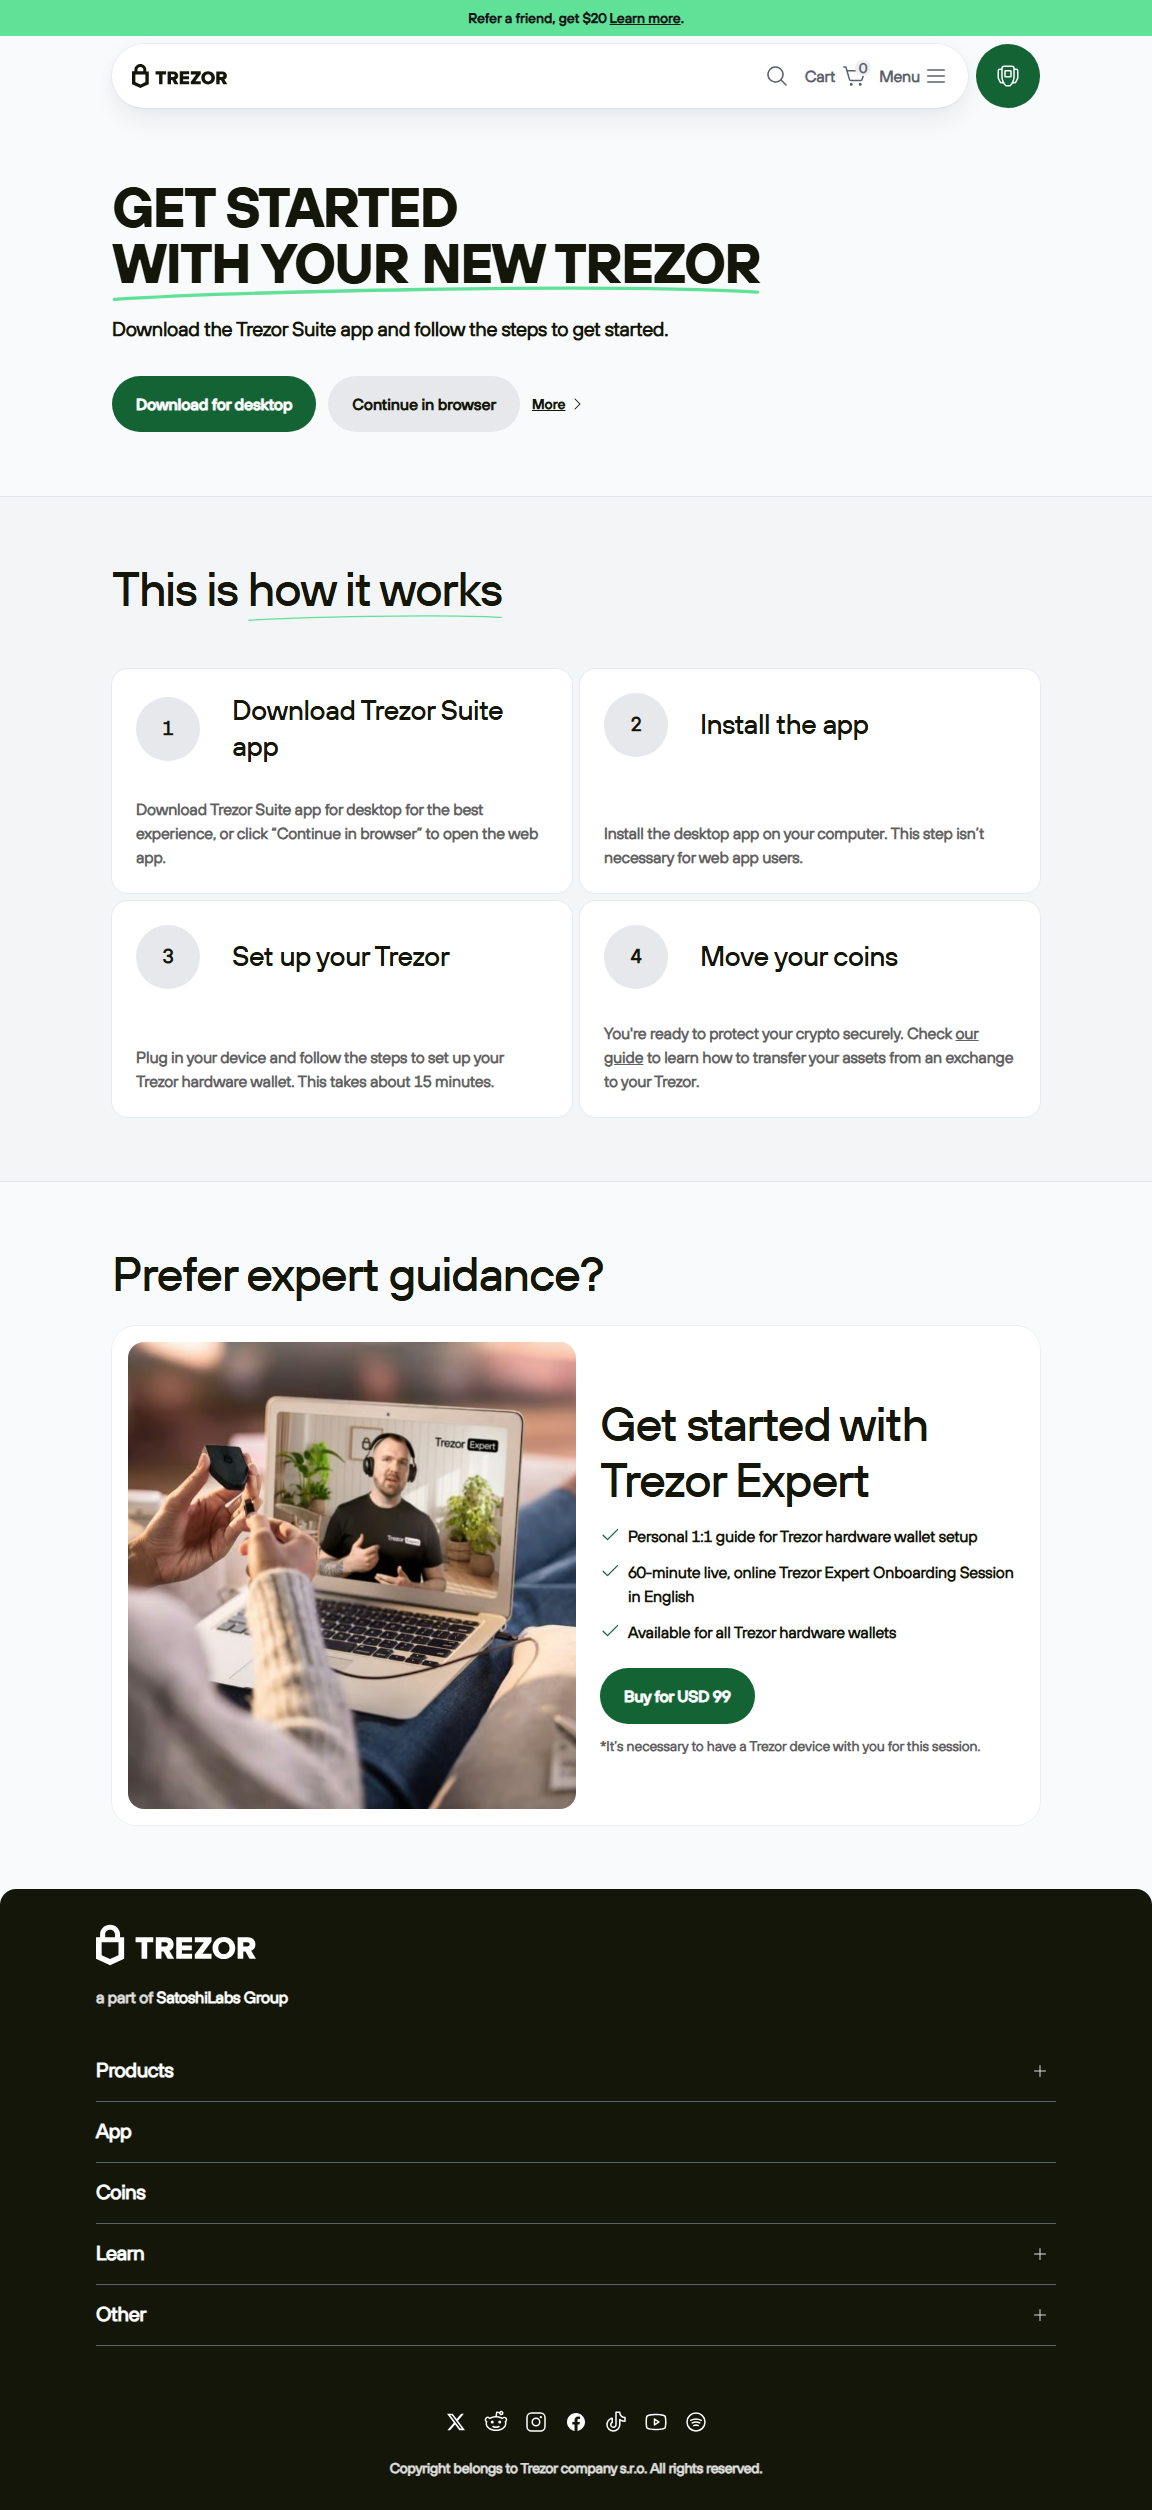
Trezor.io/start is the official onboarding page for setting up your Trezor hardware wallet. It ensures that new users install the right software, verify their device, and securely begin managing their crypto portfolio. The page connects your physical wallet with Trezor Suite, an all-in-one application that lets you buy, sell, exchange, and track your digital currencies.
Think of it as your first checkpoint in the world of hardware-based crypto security. Instead of depending on online wallets vulnerable to hacks or phishing attacks, Trezor gives you complete ownership of your private keys — something online exchanges simply can’t match.
Why Hardware Wallets Matter in Crypto Security
In the ever-evolving world of blockchain and digital assets, security remains a critical challenge. Hardware wallets like Trezor act as a physical vault for your crypto — isolated from the internet and immune to malware or remote attacks. When you store your Bitcoin or Ethereum on a hardware wallet, your private keys never leave the device.
It’s like having your bank vault in your pocket — but with far more control. You authorize transactions manually, review details on a secure display, and confirm every move physically. The result? Even if your computer is infected, your crypto remains safe.
Step-by-Step Guide to Setting Up Your Trezor via Trezor.io/Start
Step 1: Visit the Official Website
Always begin at Trezor.io/start. Avoid search engine ads or suspicious URLs — scammers often mimic official pages. Double-check the HTTPS lock icon in your browser before continuing.
Step 2: Connect Your Device
Plug your Trezor Model T or Trezor One into your computer using the provided USB cable. The device screen will prompt you to visit Trezor.io/start, where you’ll download the Trezor Suite app.
Step 3: Install Trezor Suite
Download and install the official Trezor Suite desktop application. It’s available for Windows, macOS, and Linux. Once installed, the app automatically detects your connected device.
Step 4: Update Firmware
The first thing Trezor Suite will check is your device firmware. If an update is available, install it immediately. This ensures you’re using the latest security features and patches.
Step 5: Create a New Wallet
You can either create a new wallet or recover an existing one. Choose “Create New Wallet” for a fresh setup, and follow on-screen instructions carefully.
Step 6: Write Down Your Recovery Seed
Your device will display a 12 or 24-word recovery seed. This is the most important backup for your crypto. Write it on paper, never take screenshots, and store it securely offline.
Trezor vs Other Wallets: A Quick Comparison
| Feature | Trezor | Ledger | Software Wallet |
|---|---|---|---|
| Security Level | Hardware-level isolation | Hardware-level isolation | Internet-exposed |
| Open Source | Yes | Partially | Depends on provider |
| Ease of Use | Simple, intuitive setup | Moderate | Very easy |
| Supported Assets | 1200+ | 1500+ | Varies widely |
Understanding Recovery Seeds and Backup Security
Your recovery seed is the master key to your crypto wallet. It allows you to restore your funds even if your Trezor is lost or damaged. Each seed is a unique sequence of words generated during setup, representing a cryptographic secret.
Storing this seed correctly determines whether your assets remain protected or exposed. Many seasoned crypto users use metal seed plates to store their backup words, protecting them from fire, water, or physical degradation.
“Your recovery seed is your crypto life raft. Protect it as you would your identity — because in the blockchain world, they’re one and the same.”
Trezor Suite: The Command Center for Your Crypto
Once your device is set up, Trezor Suite becomes your daily dashboard. The software allows you to:
- ✔ Manage multiple cryptocurrencies in one interface.
- ✔ Buy, exchange, and track prices directly within the app.
- ✔ Customize security settings such as passphrase protection and coin visibility.
- ✔ Connect with decentralized applications (dApps) while maintaining full key control.
The interface is designed with simplicity and trust in mind — perfect for beginners but still advanced enough for seasoned investors.
Common Mistakes to Avoid When Using Trezor.io/Start
- Never buy Trezor from unofficial sources. Counterfeit hardware wallets can compromise your security.
- Do not share your recovery seed. Trezor support will never ask for it.
- Keep firmware up-to-date. Regular updates protect against known vulnerabilities.
- Avoid browser wallet extensions that claim to sync with Trezor. Always use the official Trezor Suite.
- Enable a passphrase for an extra layer of encryption on your wallet.
Real-World Use Cases of Trezor Wallets
Beyond just storing crypto, Trezor wallets are used by businesses, developers, and long-term investors to protect funds at scale. Institutional holders rely on the same open-source framework for transparency and verifiability. Developers often integrate Trezor hardware into custom dApps, enabling hardware-based transaction signing for DeFi projects.
For individual investors, Trezor represents peace of mind — knowing that your Bitcoin or altcoins are secured by one of the most trusted brands in the crypto ecosystem.
Frequently Asked Questions About Trezor.io/Start
1. Is Trezor.io/start safe to use?
Yes. It’s the official website provided by SatoshiLabs, the creators of Trezor. Always type the URL manually instead of clicking links.
2. Can I recover funds if I lose my device?
Absolutely. You can restore your wallet using your 12/24-word recovery seed on any new Trezor device or compatible wallet.
3. Which coins are supported?
Trezor supports over 1,200 coins and tokens, including Bitcoin (BTC), Ethereum (ETH), Litecoin (LTC), and many ERC-20 tokens.
4. Do I need to keep Trezor connected to check balances?
No. Trezor Suite can display your portfolio even when the device is disconnected. However, you’ll need it to sign transactions.
5. Is Trezor suitable for beginners?
Yes! Trezor’s setup process is beginner-friendly, especially when following guidance on Trezor.io/start.
Final Thoughts: Why Trezor.io/Start Is Your Secure Gateway to Crypto Freedom
The journey to financial sovereignty begins with taking control of your keys — and Trezor.io/start is where that journey starts. From the first plug-in to advanced security configurations, every step is designed to give you confidence, privacy, and ownership.
As the crypto ecosystem expands, those who prioritize self-custody will thrive securely. Trezor stands as a beacon of trust, transparency, and technological excellence — empowering individuals to hold their assets with true independence.
Take your first step today — visit Trezor.io/start and experience the power of decentralized security in your hands.